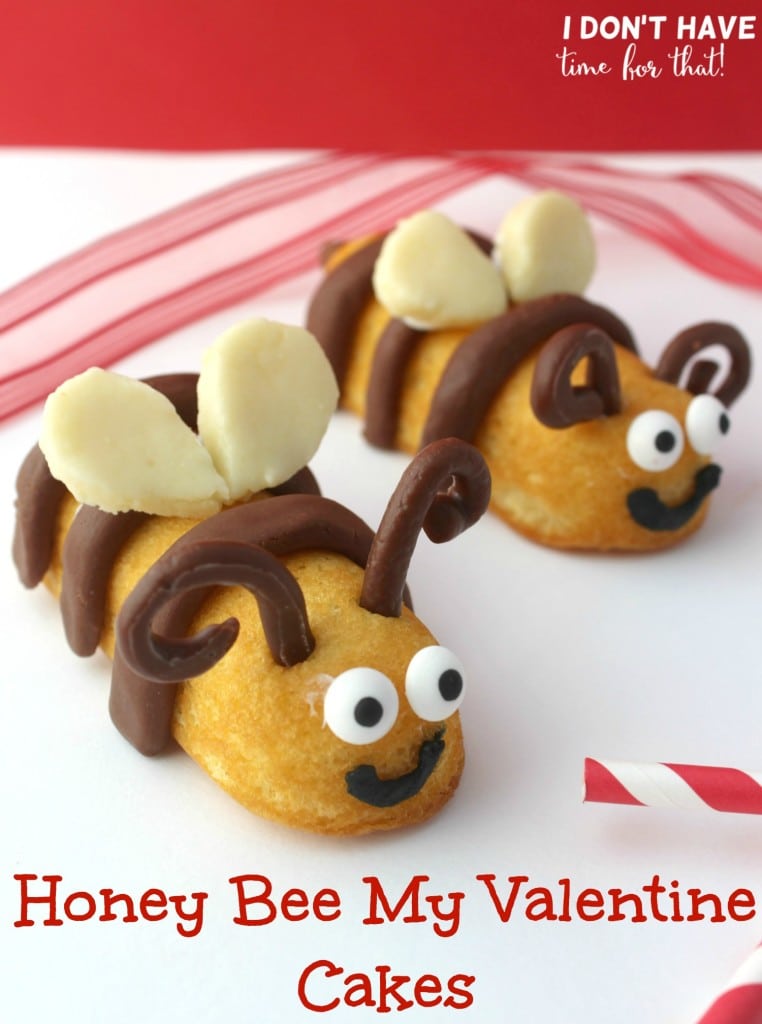
Looking for a new twist on your traditional Valentine cupcakes? Try the Honey Bee My Valentine Cakes!
Recently my son started preschool. It’s not just a new world for him but me too. The preschool sent home a letter the other day letting me know they would be celebrating Valentine’s Day with a classroom party and asking for parents to send in treats.
In my head I thought sure, cupcakes are always nice, but aren’t the other parents going to bring them in too? Though a bit of brainstorming, the Honey Bee My Valentine Cake was born!
My son went crazy when he saw my test run! They are so different, fun and crazy cute! These are going to be perfect for the kids to enjoy and have fun with at their party.
These Honey Bee My Valentine Cakes are very easy to assemble and look absolutely adorable! You can even get the little ones in the kitchen to help you put these together. Just make sure all of your ingredients are cool to the touch. This is such a fun way to ditch the traditional red and white Valentine’s cupcakes!

Honey Bee My Valentine Cakes
Equipment
Ingredients
- Hostess Twinkies Snack Cakes
- Wilton candy eyeballs
- White and Milk Chocolate chips to make modeling
- Black frosting
- Frosting or use Nutella, peanut butter
Instructions
- Begin by preparing your modeling chocolate. While the chocolate is cooling unwrap your Twinkies
- Once chocolate is cooled you have a nice chocolate clay to work with.
- Roll out black and white modeling chocolate to about 1/16" thickness. Use a knife or pastry wheel to cut 1/2" wide by 5"-6" long strips from the brown.
- Gently shape these around your bee to make the stripes of the bee as pictured, cut off excess at the bottoms as needed.
- Using a sharp knife gently cut the wings from your white modeling chocolate, once cut to desired shape place them into the fridge for about 10 minutes to allow them to harden.
- Cut off about 1 1/2" pieces, rolling them with your hands to make thin logs and curl up one end to make antennae. Once you have reached your desired shape place them into the fridge for about 10 minutes to allow them to harden.
- To finish decorating your bees, Use a dab of frosting to attach the wings and eyes. Use a toothpick to poke two holes in between the eyes and the first stripe. Then stick an antenna in each hole. Paint on a black frosting smile.
Nutrition Information
Nutrition information provided is an estimate and will vary based on cooking methods and brands of ingredients used.
©I Don't Have Time For That. Content and photographs are copyright protected. Sharing of this recipe is both encouraged and appreciated. Copying and/or pasting full recipes to any social media is strictly prohibited.