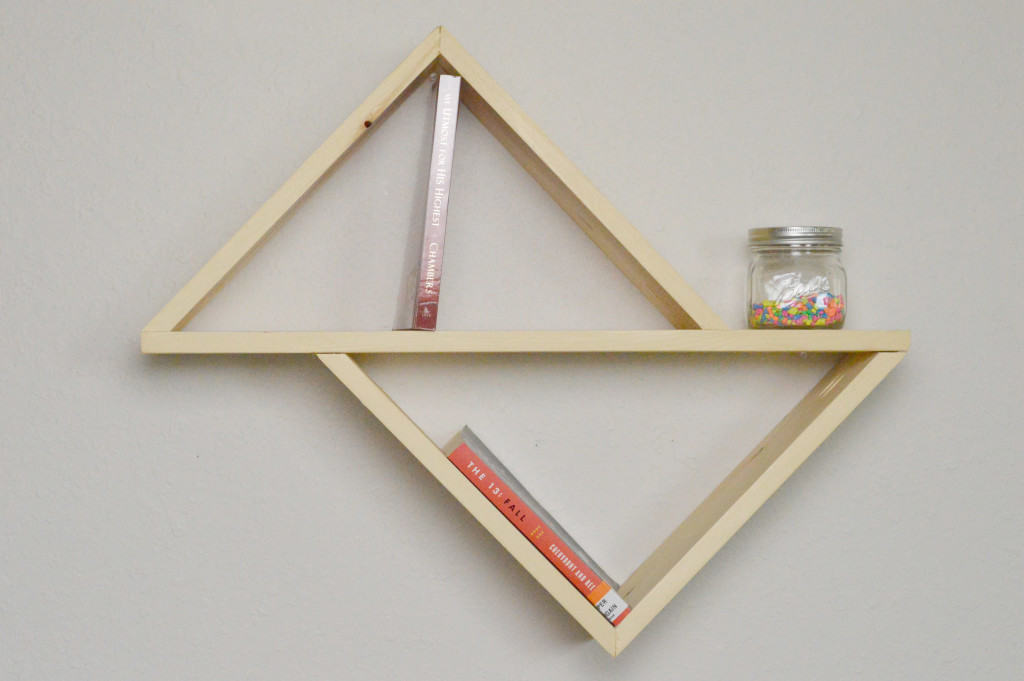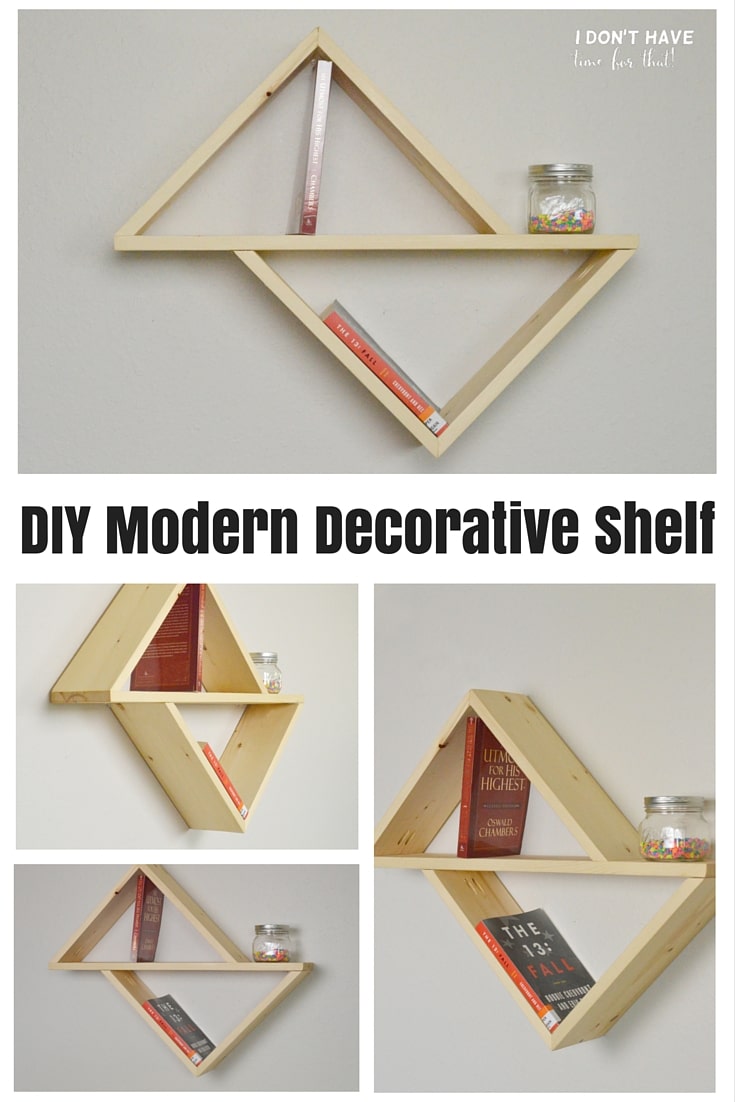
Why spend big bucks on a fancy shelving when you can make your own with basic supplies from the hardware store?
What’s so wonderful about this shelf is the fact that you only need one piece of wood to complete an entire project. If you don’t own a miter saw and do not wish to purchase one, your local lumber store should be able to make the cuts for you. A Kreg Jig is a relatively inexpensive tool to purchase and is nice to have around for any home improvement projects! A Kreg Jig Junior is all we use and should be plenty for any job you have in mind. This project is relatively easy however, don’t get discouraged if you have to pull the screws out and redo them more than once in order to get your corners and pieces straight.
If you are in to unique pieces of furniture or decorations, this piece is perfect for you!
Tools:
• Kreg Jig
• Miter Saw
• Sander
• Drill
• 2-inch Pocket Hole Screws (4)
• 2-inch Wood Screws (8-10)
Wood:
• 1 – 1×6 (Cut into 1 piece 27 inches long and 4 pieces 15 inches long each)
Directions:
1. Begin by cutting your wood pieces.
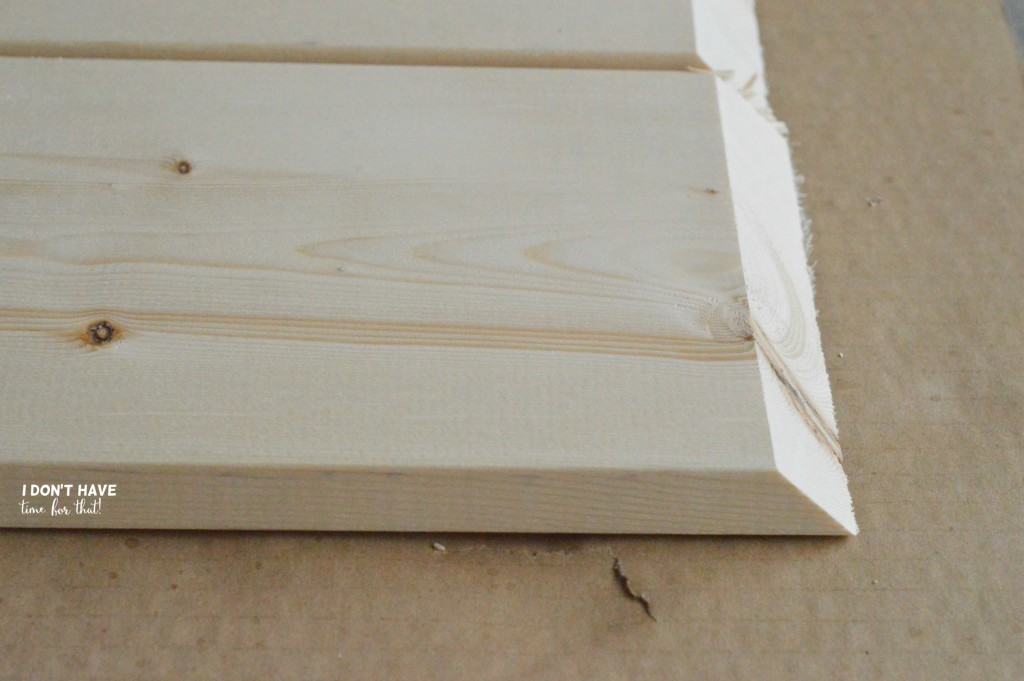
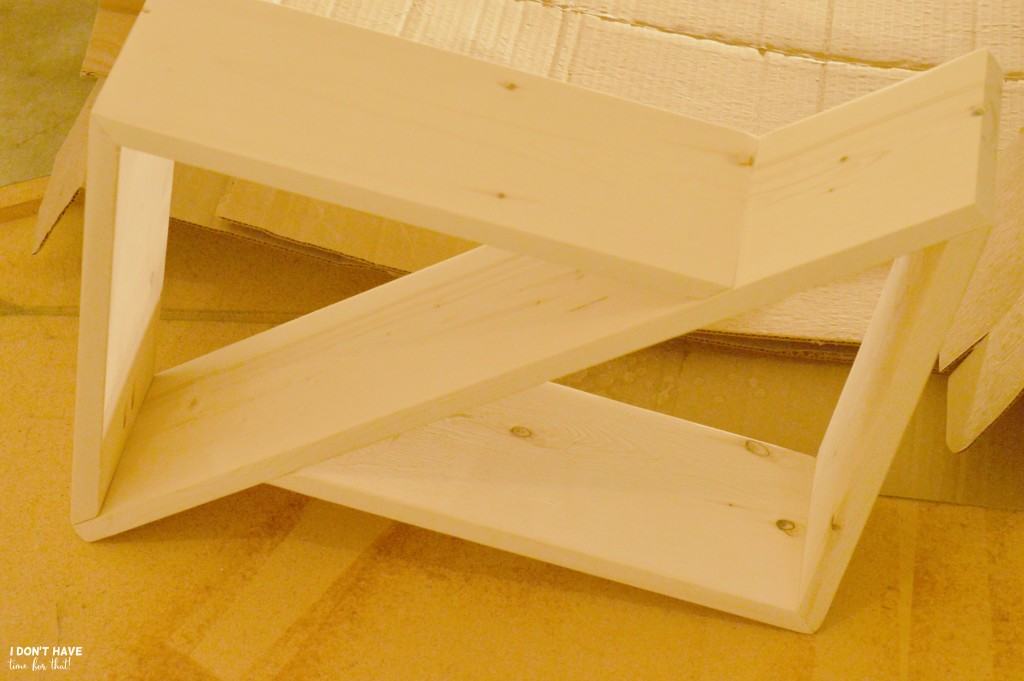
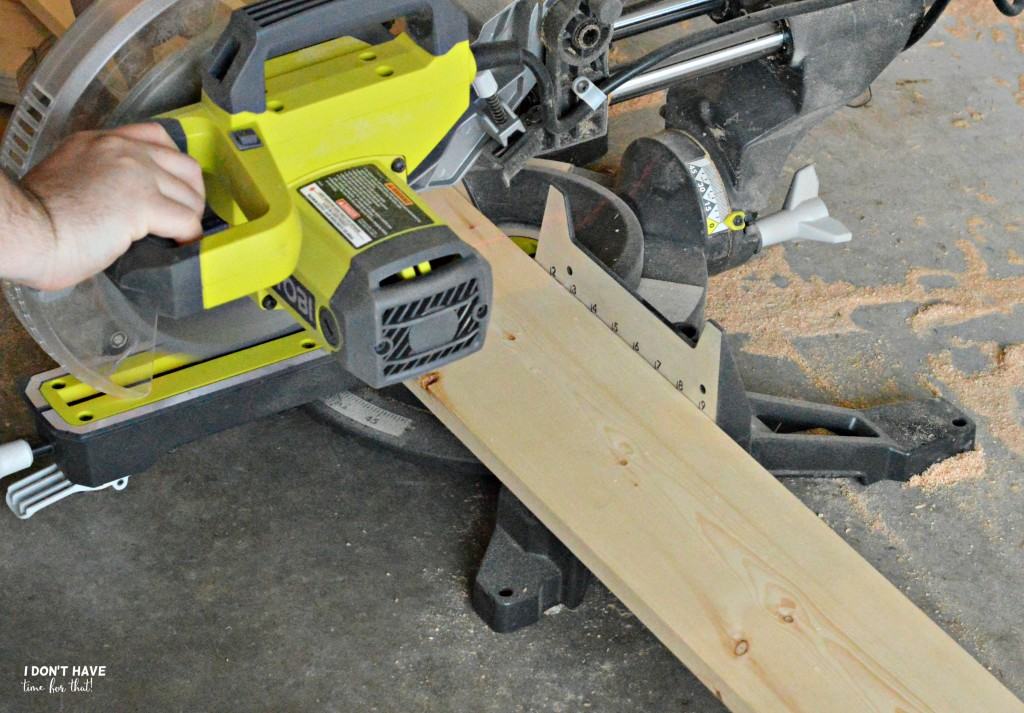 The one 27-inch piece will not be cut with any angles. However, your four 15-inch pieces will be cut with 45-degree angles at both ends, as shown in photo.
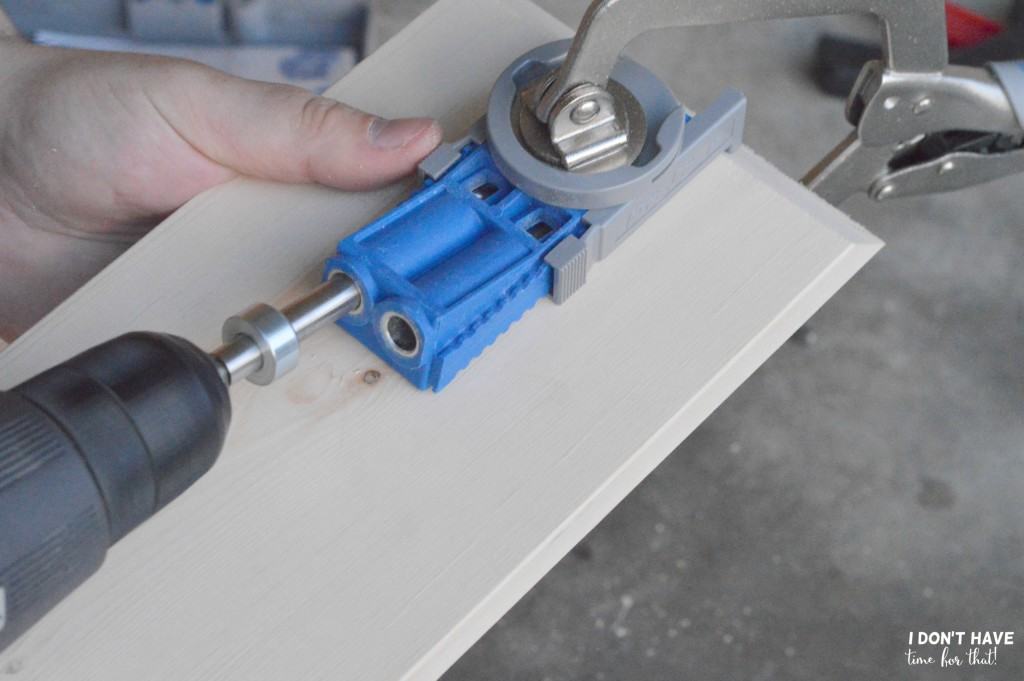
2. Next, you will begin drilling pocket holes with your Kreg Jig at one end of two of your 15-inch boards as shown in photo.
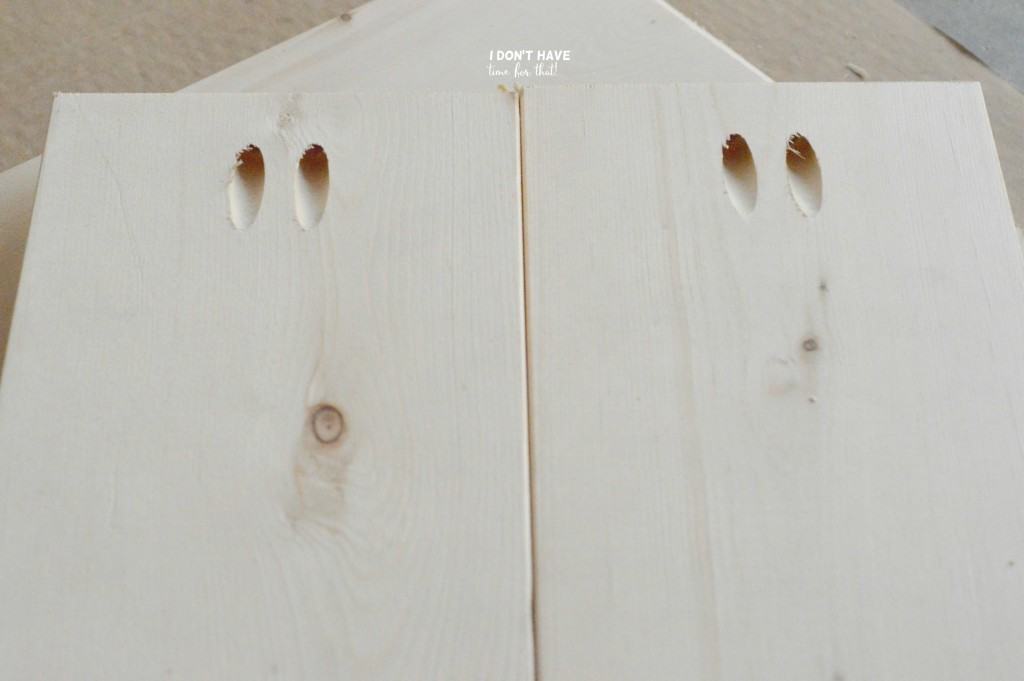 These holes will be for attaching the smaller board to the larger board, not for the tips of the triangles.
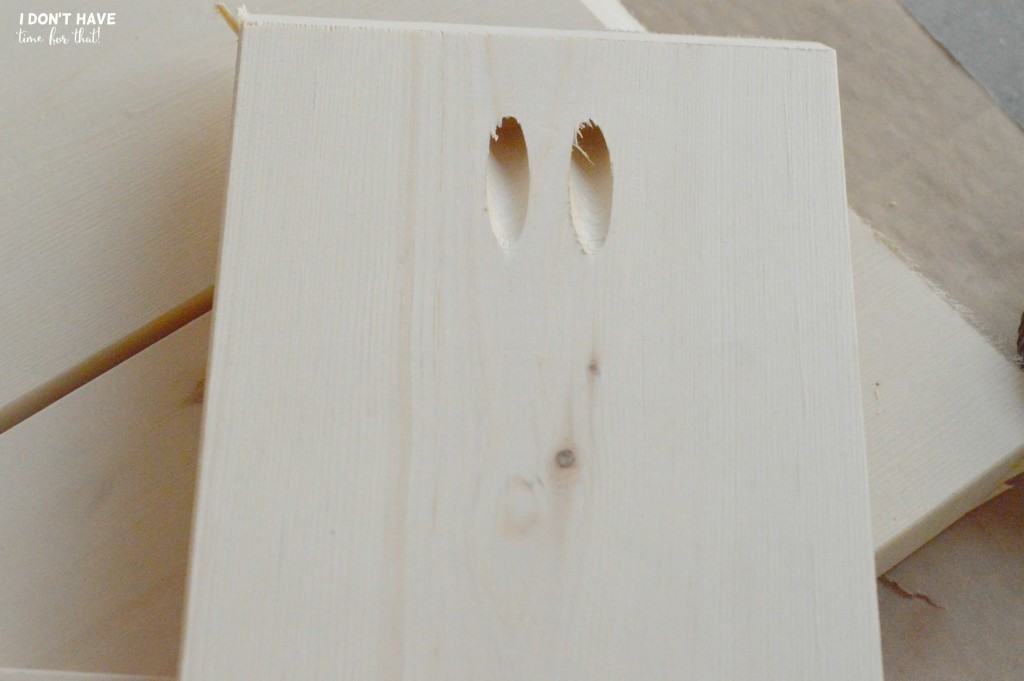
3. The boards with the pocket holes will be used for the inside of the triangle, not the outside of the triangle that will sit on the edge (see photo).
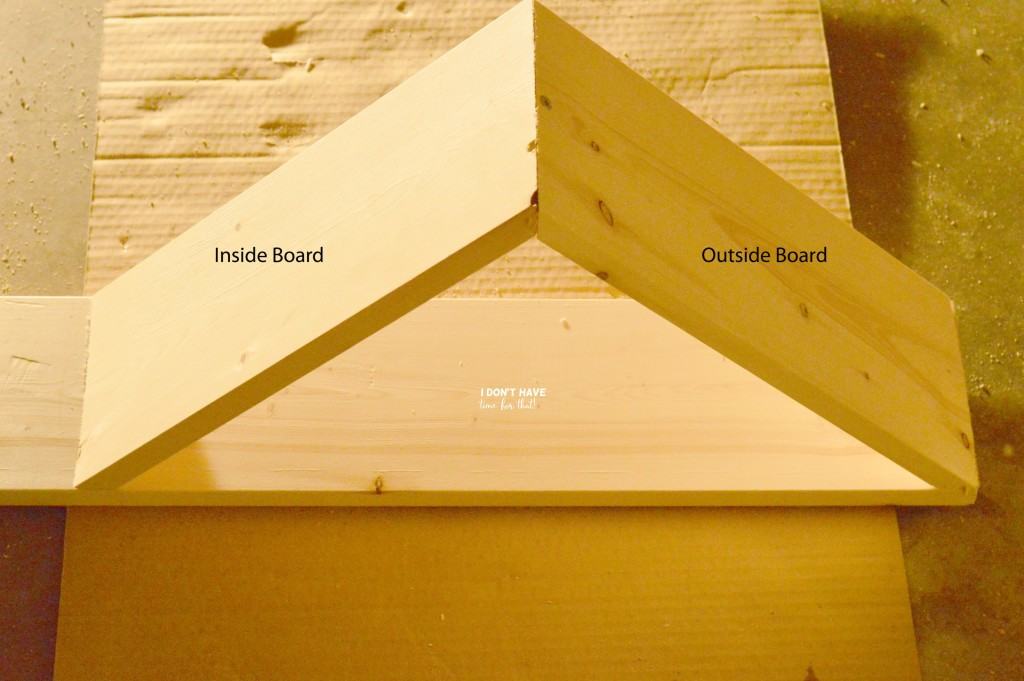 You will begin by using your pocket hole screws and attaching the inside boards first.
 You may need to measure where it will go by sitting both sides of the triangle up and marking the spot.
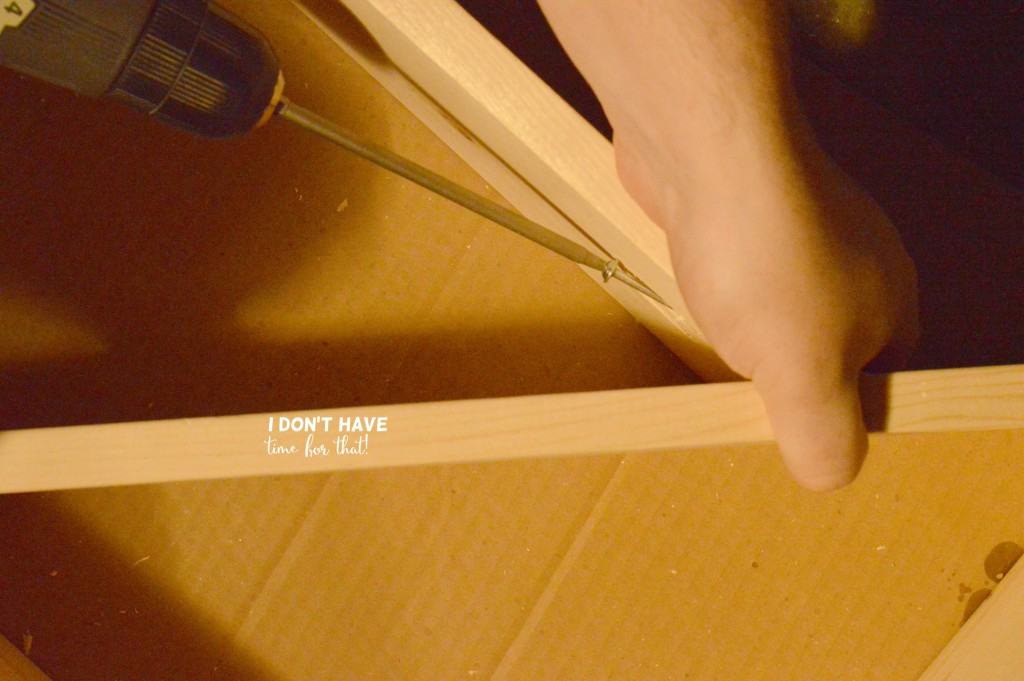
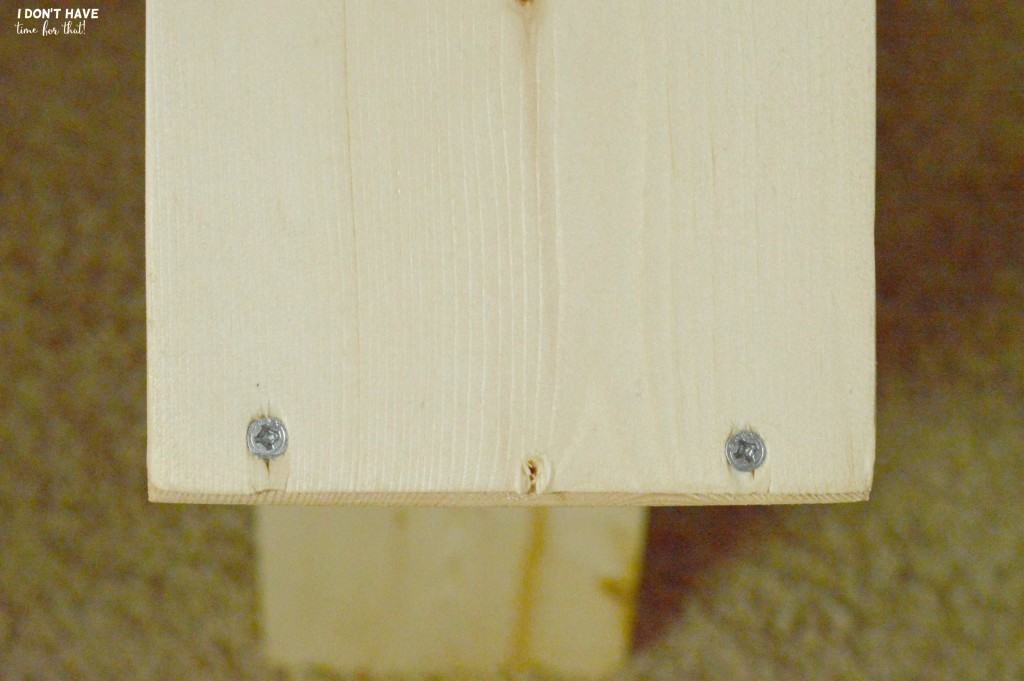
4. Your next step, once you have the inside board secure, is securing the outside board. You will not be using pocket holes or pocket hole screws for this part. Using your wood screws, you will drill the screw through the bottom of the base board into the end of the outside board.
 Use two screws evenly spaced for maximum security.
5. Do the same exact method of screwing for the tip of the triangle as you did the outside board in the previous step.
6. Repeat step 3 and 4 for the other side of the base board to make your second triangle.
7. Sand down your entire shelf with 220 sanding grit.
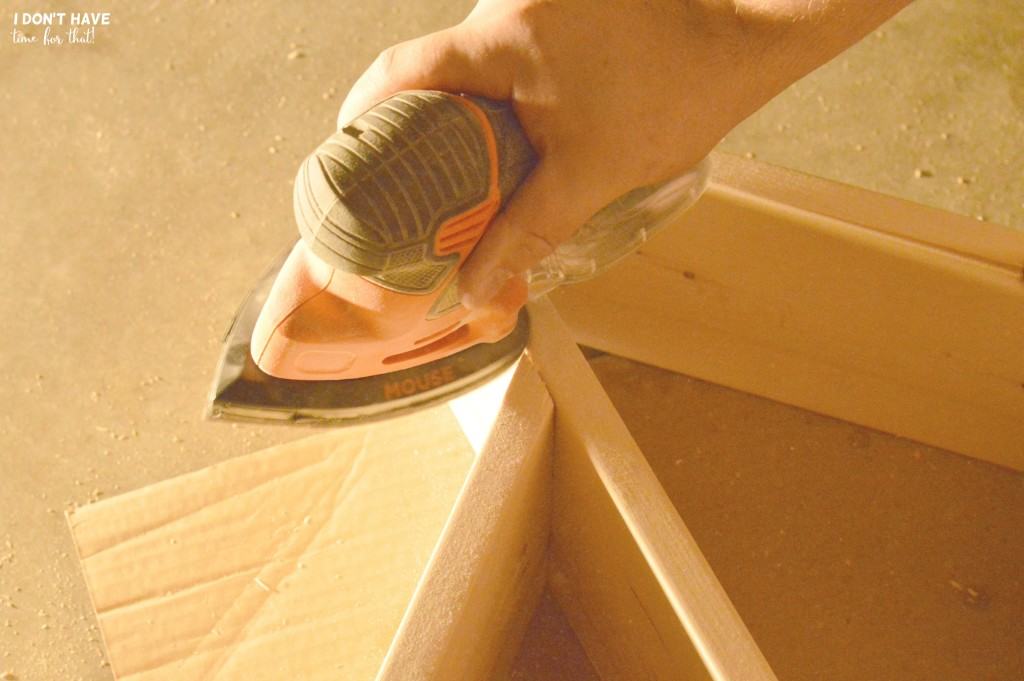
Hang this baby up and enjoy!